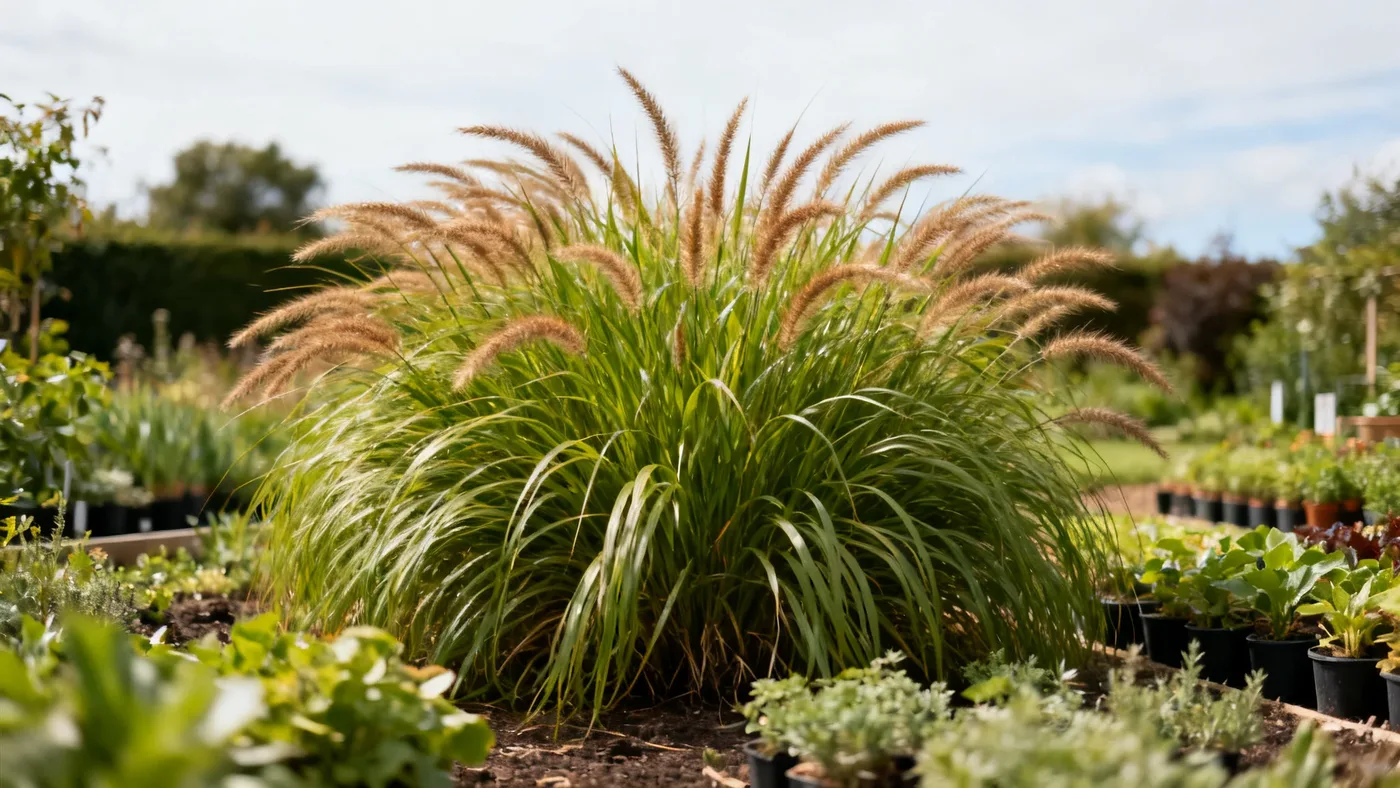
Best Soil for Hameln Fountain Grass and How to Improve Drainage
Hameln Fountain Grass thrives in well-drained soil, but the good news is it isn't fussy. This dwarf cultivar adapts to clay, sandy, or loamy soil as long as water moves through freely. Poor drainage is the main enemy. If water pools around the roots after rain, your grass will struggle with root rot, even in the best conditions otherwise. The right soil prep takes a few hours upfront and pays dividends in a vigorous, healthy clump that reaches its mature 18-24 inch width without flopping or splitting.
Understanding Hameln Fountain Grass Soil Needs
Hameln Fountain Grass soil requirements are straightforward: it needs drainage first, fertility second. The plant is not a heavy feeder. In fact, overly rich or heavily amended soil can cause the clump to flop and lose its compact shape. The plant prefers lean to moderate fertility.
Soil pH for ornamental grass like Hameln ranges from roughly 6.0 to 7.5, slightly acidic to neutral. Most garden soils fall within this range naturally, so pH adjustment is rarely necessary. Your main job is creating structure that lets water drain while keeping moisture available to roots in the growing season.
The plant's drought tolerance is good once established, meaning it can handle dry spells after the first growing season. But newly planted Hameln needs consistent moisture for the first 2 to 3 months until roots develop. Drainage and moisture availability are not the same thing; good drainage prevents waterlogging while retaining enough water for the plant to use.
What You'll Need
Gather these materials before you begin amending soil for fountain grass:
- Compost or aged bark mulch (2 to 4 cubic yards per 100 square feet of planting area, depending on soil condition)
- Perlite, pumice, or coarse sand for drainage amendment (optional but recommended for clay soil)
- Soil pH test kit or meter (inexpensive at any garden center)
- Landscape fabric or cardboard (optional, for weed suppression during prep)
- Shovel and garden fork
- Wheelbarrow
- Gloves
- Tape measure
Step-by-Step Soil Preparation and Amendment
Step 1: Test Your Existing Soil
Before amending, understand what you're working with. Dig a hole 12 inches deep in the planting area and examine the soil texture and color. Squeeze a handful when moist: if it compacts into a tight ball, you have clay; if it falls apart immediately, you have sand; if it holds a loose clump briefly, you have loam. All three work for Hameln Fountain Grass, but clay needs drainage amendment while sand needs organic matter to hold moisture.
Test pH using a simple kit (follow package directions) or send a sample to your local extension service for a full analysis. If pH falls between 6.0 and 7.5, you're set. If it's below 6.0, add lime; if above 7.5, add sulfur. Most gardeners won't need to adjust, but testing takes the guesswork out.
Step 2: Loosen the Soil
Use a garden fork to break up compacted soil to a depth of 12 inches across your entire planting area. Work in a crosshatch pattern to avoid missing hard spots. This opens soil structure and makes it easier for roots to penetrate. Loosening also improves drainage by creating air pockets.
Step 3: Work in Organic Matter
Spread 2 to 3 inches of compost or aged bark mulch over the loosened soil. For clay soil, also add 1 to 2 inches of perlite or pumice. Use your garden fork to mix these amendments into the top 8 to 10 inches of soil, working until the texture is even throughout. The goal is a crumbly, open structure, not a dense mix.
Do not over-amend. Adding more than 25 to 30 percent organic matter by volume can trap moisture and create a too-rich environment that causes flopping and weak growth. Hameln Fountain Grass does not need that level of fertility.
Step 4: Create Planting Mounds
If your site is in a low spot or drains poorly overall, create a shallow mound 2 to 3 inches higher than surrounding grade. This ensures water runs away from the root zone and prevents standing water. For average sites with decent slope, mounding is optional but beneficial in areas that receive runoff from roofs or paving.
Step 5: Settle the Soil
Water the amended bed gently and let it settle for a few days before planting. This prevents pockets of air that would leave roots hanging and cause transplant shock. The soil should feel firm but crumbly, never compacted.
Testing and Adjusting Soil pH
A soil pH test is quick and reveals whether your soil needs adjustment. Use a home test kit or mail a sample to your extension office for a detailed analysis. Most kits are accurate enough for ornamental gardening.
If your test shows pH below 6.0 (acidic):
- Add agricultural lime at the rate recommended on the package based on soil type and current pH
- Work lime into the top 6 to 8 inches of soil 2 to 4 weeks before planting
- Water well after application
If your test shows pH above 7.5 (alkaline):
- Add elemental sulfur at the package-recommended rate for your soil type
- Sulfur works slowly, so apply 4 to 6 weeks before planting if possible
- Water well and allow time for the amendment to take effect
Most garden soils in the range where Hameln is grown (USDA zones 5 to 9) naturally fall near pH 6.5, so adjustment is uncommon. When in doubt, skip it and retest after one season if the plant shows signs of nutrient problems.
Fountain Grass Drainage: Solving Common Drainage Problems
Poor fountain grass drainage is the leading cause of problems. Here is how to fix it:
Standing water after heavy rain: Create a swale or shallow channel 6 to 12 inches away from the planting area to direct runoff away. Alternatively, build a raised bed 8 to 12 inches high using lumber, composite, or stone. Fill it with amended soil and plant into that elevated space.
Clay soil that never dries: Do not skip the perlite or pumice amendment. Mix in 1.5 to 2 inches worked 8 to 10 inches deep. This is not overkill for clay. The amendment creates permanent air spaces that clay alone cannot provide.
Soil that drains too fast: Pure sand or very sandy loam loses moisture too quickly for Hameln's establishment phase. Mix in 3 to 4 inches of compost or aged bark to improve water retention. The plant will still drain well, but soil will hold moisture longer between waterings.
Compacted or hardpan soil: If you hit a hard layer 8 to 12 inches down, break through it with a mattock or till to 14 inches depth. This is critical. Hameln roots need depth to establish, and compacted layers prevent that.
Common Mistakes and How to Avoid Them
Mistake: Planting in unamended native soil. Even if native soil is not clay, amending it improves establishment and reduces the need for frequent watering. Spend the time up front. You will water less over the life of the plant.
Mistake: Over-amending with compost. Adding more than 3 to 4 inches of compost can make soil too rich and cause the clump to flop and split. Hameln is a low-maintenance plant that prefers lean conditions. More amendment is not better.
Mistake: Ignoring pH without testing. While Hameln adapts to a wide pH range, very acidic or very alkaline soil can lock up nutrients or cause deficiency symptoms. A test is inexpensive insurance.
Mistake: Planting in shade expecting the same soil prep to work. Soil in shade stays wetter longer. If your Hameln will receive less than 6 hours of direct sun, increase drainage amendment by 50 percent and ensure excellent air circulation to reduce fungal problems.
Mistake: Fertilizing heavily at planting time. Do not use a high-nitrogen or balanced fertilizer when planting. Light feeding is better. A balanced, slow-release fertilizer applied in spring to an established plant is all Hameln needs.
Expected Results and Timeline
Well-prepared soil leads to faster establishment and fewer problems. Here is what to expect:
First growing season (spring through fall): A quart-size or #1 container plant will put on vigorous growth and may bloom by mid to late summer. With good drainage and regular moisture during establishment, expect no root problems and healthy foliage color. The clump will expand toward its mature 18-24 inch width but won't fill that space in one season.
Second growing season: The plant reaches near-full width and the mature form becomes clear. By this point, most roots have reached deep into the soil, and drought tolerance improves noticeably. You can reduce watering frequency unless the region is experiencing drought.
Years 2 to 3: The clump reaches full mature size. If your soil preparation was thorough, maintenance is minimal. The plant should show no flopping or splitting if grown in full sun (which also prevents floppiness that occurs in shade).
These timelines assume good drainage and regular water during the first 2 to 3 months after planting. Poorly drained soil will delay or prevent this progression entirely.
Quick Reference: Soil Prep Checklist
| Task | Timing | Details |
|---|---|---|
| Test soil pH | Before amendment | Target 6.0–7.5; adjust if needed 2–4 weeks prior to planting |
| Loosen soil | Before amendment | 12 inches deep with garden fork; crosshatch pattern |
| Add compost | Before planting | 2–3 inches worked 8–10 inches deep; do not exceed 3–4 inches |
| Add perlite or pumice (clay only) | Before planting | 1–2 inches worked 8–10 inches deep for clay soil |
| Create mound (if needed) | Before planting | 2–3 inches higher than surrounding grade for poor drainage |
| Settle soil | 2–3 days before planting | Water gently; allow to firm up |
| Plant Hameln | Spring or early fall | Space 18–24 inches apart; water regularly for 2–3 months |
| Monitor drainage | After first heavy rain | Water should not pool; adjust mounding if needed |
Good soil is the foundation of a healthy Hameln clump. For more on caring for your plant after it's established, see our complete growing guide. And for ideas on how to use Hameln in your landscape design, explore our 12 landscape ideas article.