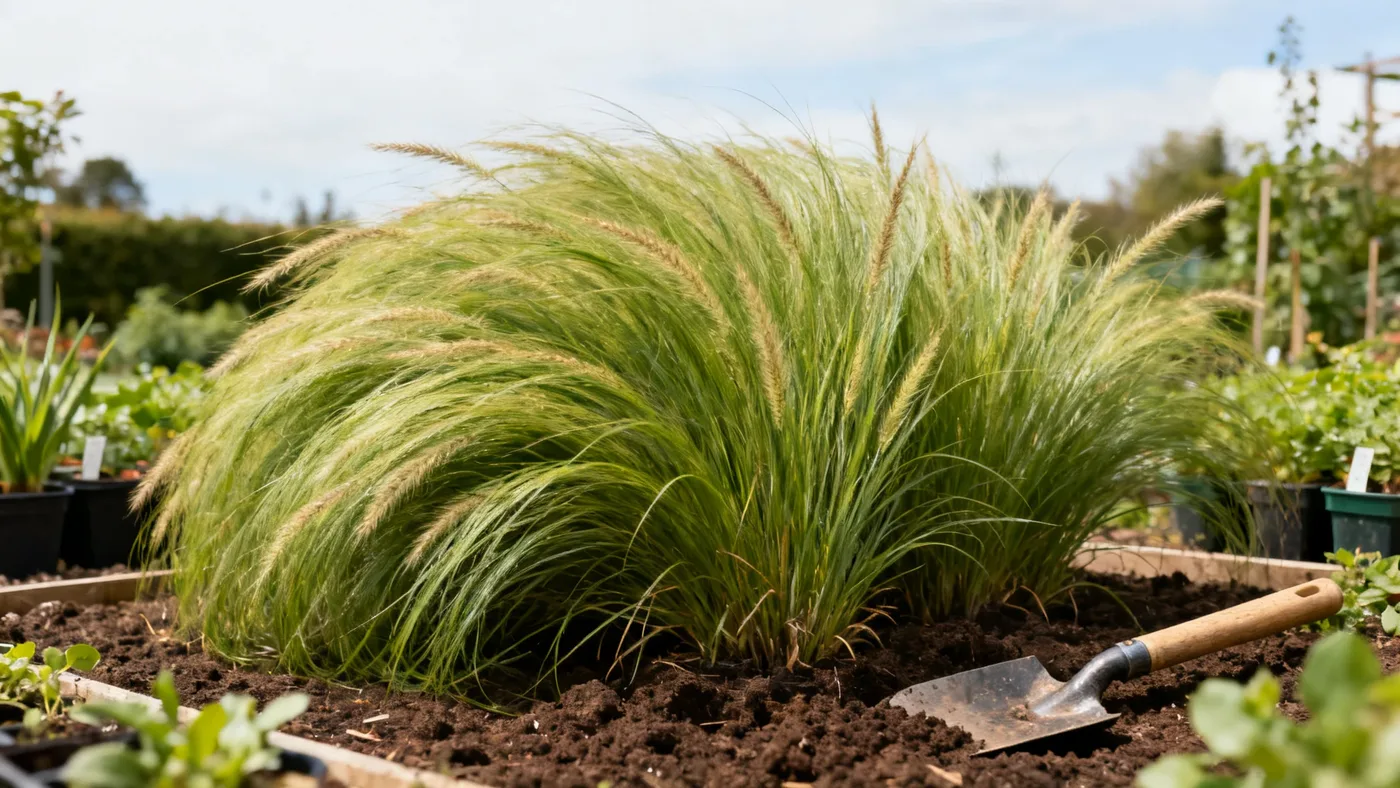
How to Plant Hameln Fountain Grass for a Strong Start
Planting Hameln Fountain Grass correctly sets the foundation for years of reliable growth and those signature creamy-white bloom plumes. This compact cultivar reaches 18 to 24 inches tall at maturity, making it an ideal addition to mixed beds, borders, or mass plantings. The good news: the planting process is straightforward, and once established, this ornamental grass asks for minimal fussing.
When to Plant Hameln Fountain Grass
Timing matters, but you have flexibility. Plant in spring after your last frost date, or in early fall if you live in a mild climate. Spring planting is the safest choice for most gardeners because it gives your new plants the full growing season to establish a root system before winter stress arrives.
A quart-size container planted in spring will produce blooms the very first year. Your clump will continue to grow and fill out over the next 2 to 3 growing seasons, reaching its full mature width of 18 to 24 inches. This moderate growth rate means you can space plants closer together if you want faster coverage, or further apart if you prefer to see the individual architectural form of each clump.
Materials You'll Need
- Hameln Fountain Grass plants (typically sold in quart or #1 containers from nurseries)
- Shovel or spade for digging
- Garden soil or compost (if amending your bed)
- Garden fork or cultivator for loosening soil
- Mulch (shredded bark or compost, optional but recommended)
- Watering can or hose
- Measuring tape or ruler
Choosing Your Planting Site
Hameln Fountain Grass thrives in full sun to light shade, but you'll get the best bloom production and most compact, sturdy growth in full sun. If you're planting in a region with very hot summers, afternoon shade is acceptable, though the plant will still prefer at least 6 hours of direct sun daily.
Soil adaptability is one of this grass's strengths. It tolerates clay, sandy, and loamy soils alike, as long as they drain well. If water pools on your site after rain, consider raised beds or amending the soil with compost to improve drainage. Hameln is not fussy about pH and grows in soils ranging from slightly acidic to neutral (roughly 6.0 to 7.5).
Once established, this cultivar has good drought tolerance, but regular moisture in the first year helps roots settle in and spread. Choose a spot where water won't sit, but also where you can water regularly during the establishment phase.
Preparing the Bed
Start by clearing the planting area of weeds and grass. Loosen the soil to a depth of 8 to 10 inches using a garden fork or tiller. This loosening breaks up compacted earth and makes it easier for roots to establish.
If your soil is very heavy clay or very sandy, work in 2 to 3 inches of compost or well-rotted organic matter and mix it into the top 8 inches of soil. This step isn't mandatory (Hameln adapts to most soils as-is), but it improves water retention and soil structure, especially in the first year. If your soil already drains reasonably well, you can skip this amendment.
Rake the bed level and remove any remaining rocks, roots, or debris.
Spacing Hameln Fountain Grass Plants
Space plants 18 to 24 inches apart, measured from the center of one clump to the center of the next. This spacing accounts for the grass's full mature width. If you want a tighter, more unified look sooner, space them at 18 inches; for a more open, individual-specimen display, use 24 inches. Remember that your clumps will take 2 to 3 years to fill those spaces, so avoid the temptation to crowd them closer or they'll become overcrowded and stressed as they mature.
Planting Steps
- Remove the plant from its container. Gently slide the Hameln Fountain Grass out of its nursery pot. If the roots are tightly wound in a circle around the root ball, loosen them gently with your fingers. This encourages the roots to spread outward into the surrounding soil rather than continuing to circle the original clump.
- Dig the planting hole. Dig a hole slightly wider than the root ball and just deep enough so that the top of the root ball is level with or slightly above the soil surface. Hameln Fountain Grass should not be planted deeper than it was growing in the container. Planting too deep can lead to rot and stress.
- Set the plant in place. Center the grass in the hole and backfill with the excavated soil. If you amended the bed with compost, you can use some of that amended soil for the backfill.
- Firm the soil gently. Press the soil around the base of the plant with your hands to eliminate large air pockets. Avoid compacting the soil too heavily, which can restrict root growth. The soil should feel firm but not rock-hard.
- Water thoroughly. Water the newly planted grass until the soil is moist 4 to 6 inches deep. This settles the soil and helps roots make contact with the surrounding earth.
- Apply mulch (optional). A 1 to 2-inch layer of shredded bark or compost around the base of the plant helps retain moisture and keeps soil temperatures more stable in the first year. Keep mulch a few inches away from the center of the clump to avoid trapping moisture against the crown.
Care After Planting
In the first growing season after planting, water your Hameln Fountain Grass regularly. Aim for consistent moisture without waterlogging. A good rule is to water when the top inch of soil feels dry to the touch. Once the grass has been in the ground for a full season and has established a deeper root system, you can reduce watering frequency.
No fertilizer is necessary at planting time. Hameln is a light feeder, and too much nitrogen encourages floppy, weak growth. If you want to apply fertilizer, wait until the following spring and use a balanced, slow-release formula. A single application in spring is usually sufficient.
Do not prune or cut back your new plant in the fall, even if it looks ragged. Leave the foliage and seed heads standing through winter. The dried plumes provide winter interest, and the dead leaves insulate the crown. In late winter or early spring of the following year, cut the entire clump back to 3 to 4 inches above ground before new growth emerges. This is the only major pruning Hameln needs.
Tips for Success
- Plant in spring for the best odds. Spring planting gives the grass a full season to establish before winter arrives. Fall planting works in mild climates (zones 8 to 9), but spring is the safer choice for zones 5 to 7.
- Don't overwater once established. By year two, your Hameln has moderate drought tolerance. Overwatering in established clumps can lead to weak, floppy growth and fungal leaf spot in humid conditions.
- Resist overcrowding. The urge to space plants closer to fill a bed faster is understandable, but Hameln clumps need air circulation. At 18 to 24 inches apart, they'll touch by year three. Closer spacing suffocates them.
- Plant in full sun when possible. Partial shade won't kill your grass, but bloom production and compact form improve dramatically in full sun. A shaded site often produces taller, leggier growth.
- Expect blooms the first year. Unlike many perennials, a quart-size Hameln will produce creamy-white to tan bloom plumes in mid to late summer of its first season. These are a bonus that rewards your patience during establishment.
Common Mistakes to Avoid
Planting too deep. Even a few inches of soil piled over the crown can stress the grass and promote rot. The top of the root ball should be flush with the soil surface.
Amending soil excessively. While compost helps clay and sandy soils, over-amending with rich, moisture-retentive amendments can lead to waterlogged roots and floppy growth. Hameln prefers lean, well-draining conditions.
Spacing too tightly. A common sight is plants touching or overlapping by year two. Space at 18 to 24 inches; resist the temptation to squeeze in extras. Crowded clumps become weak and diseased.
Watering inconsistently. Daily shallow sprinkles encourage weak roots. Instead, water deeply but less frequently so roots drive downward into the soil.
Cutting back in fall. Fall pruning removes the natural insulation the dried foliage provides and can expose the crown to winter injury. Cut back only in late winter or early spring, just before new growth begins.
Expected Results and Timeline
A quart-size Hameln Fountain Grass planted in spring will bloom the first year, typically from mid to late summer through fall (the exact timing varies by region). The foliage will turn golden tan to russet in autumn, and the plant will hold its dried form through winter for added visual interest.
By the end of year one, your clump will be established and independent. By years two and three, it will reach or nearly reach its full mature height of 18 to 24 inches (with bloom plumes reaching 24 to 30 inches). At that point, your planting area will look fuller and more cohesive.
After 4 to 6 years of vigorous growth, an individual clump may begin to develop a dead zone in the center, a natural sign that division will refresh it. But that's a topic for another season.
Quick Reference: Hameln Fountain Grass Planting Checklist
| Task | Details |
|---|---|
| When to plant | Spring after last frost, or early fall in mild climates |
| Sun requirement | Full sun to light shade (full sun best for blooms) |
| Soil type | Well-draining; clay, sandy, or loamy soils all acceptable |
| Soil pH | Roughly 6.0 to 7.5 (slightly acidic to neutral) |
| Spacing | 18 to 24 inches apart (center to center) |
| Planting depth | Root ball top level with or slightly above soil surface |
| Watering after planting | Regular moisture first season; moderate drought tolerance once established |
| First bloom | Year one from quart-size plant (mid to late summer) |
| Mature size | 18 to 24 inches tall; 24 to 30 inches with blooms |
| Time to mature clump | 2 to 3 growing seasons |
| First pruning | Late winter or early spring of year two; cut back to 3 to 4 inches |
| Fertilizer | Light feeder; balanced formula in spring if needed |
With the right planting method, your Hameln Fountain Grass will establish quickly and reward you with graceful foliage and delicate blooms for years to come. For guidance on ongoing care and troubleshooting, see the complete growing guide.